How I Created My Own QR Code in Cross Stitch
As an Amazon Associate, I earn from qualifying purchases.
Being a geeky crafter, of course I wanted to cross stitch my own QR code for my website.
Not just print one.
Not just frame one.
Actually stitch one by hand and see if it would still scan.
Naturally, this turned into a delightful little experiment involving graph paper, QR code error correction, repeated testing with my phone, and one completely unnecessary attempt to see if someone could scan it through my camera during a Teams meeting. (For science.)
Starting With the QR Code
I began by generating a QR code for my Oracle Grove About page.
Using Microsoft Edge, I simply right clicked on the page and selected the “Create QR Code for this page” option. I printed the code out and noticed right away that the generated version used rounded dots instead of solid squares, which actually made it very easy to see the code as a grid.
After counting carefully, I determined the QR code grid was 37 x 37.
I also did a little reading to understand which parts of the QR code absolutely needed to remain intact in order to function correctly. The large framed squares in the corners are essential positioning markers, and in this particular code they were 7 x 7 sections within the larger 37 x 37 grid.
Most of the rest of the code also needs to stay intact, but QR codes include a little bit of error correction, which means you can alter a small area without breaking the code entirely.
That led directly to the next experiment.
Testing How Much I Could Change
I wanted to customize the center of the QR code with my “OG” initials for Oracle Grove.
To figure out how much of the center I could safely use, I cut a white paper circle and placed it over the center of the printed QR code. Then I repeatedly tested the code with my phone camera while slowly making the circle smaller and smaller until the QR code would reliably scan again.
Once I found the sweet spot, I tested a few more times just to make sure it wasn’t a fluke.
Only after that did I sketch out the center design, leaving a little empty space around the initials so the QR reader wouldn’t accidentally interpret them as part of the code itself.
Translating It Into Cross Stitch
At this point I pulled out my graph paper notebook and started charting the pattern by hand.
(Yes, I actually bought an entire journal made of graph paper pages specifically so I could keep design ideas and pattern experiments in one place. No regrets.)
For the stitching itself, I used:
- 14 count white Aida cloth
- 2 strands of DMC black floss
- ball-tip cross stitch needles
- my trusty little embroidery scissors that permanently live beside my chair because they work equally well for cross stitch, embroidery, crochet thread, and yarn projects
One important thing I discovered during the process is that QR codes read best when the stitched areas fill the squares as completely as possible.
In other words, you don’t really want the stitches to visually look like “X’s inside squares.” You want the black stitched areas to behave more like solid blocks with strong contrast against the white fabric.
QR codes rely heavily on clear contrast and clean “on/off” areas, so fuller coverage works much better than delicate open stitching.
The Strange Part About Testing
One funny thing about stitching a QR code is that it often looks like it absolutely is not going to work… until suddenly it does.
While I was stitching larger sections, my phone frequently refused to recognize it at all. Then at some point, seemingly out of nowhere, it suddenly scanned perfectly.
So if you ever try this yourself and it doesn’t immediately work midway through the project — don’t panic.
That seems to be part of the process.
Finishing Notes
If you decide to add a decorative border around a stitched QR code, make sure to leave at least 4 blank rows around the outside edge of the code.
The same applies if you frame it.
QR readers work best when there’s a little visual breathing room around the code itself.
At the moment, mine is still temporarily attached to my bulletin board while I decide exactly how I want to finish it permanently.
Which honestly feels very on-brand for me.
I apparently enjoy:
- researching the thing
- planning the thing
- designing the thing
- testing the thing
- successfully proving the thing works
…and then pausing directly before the final finishing step while waiting for inspiration to arrive.
Final Results
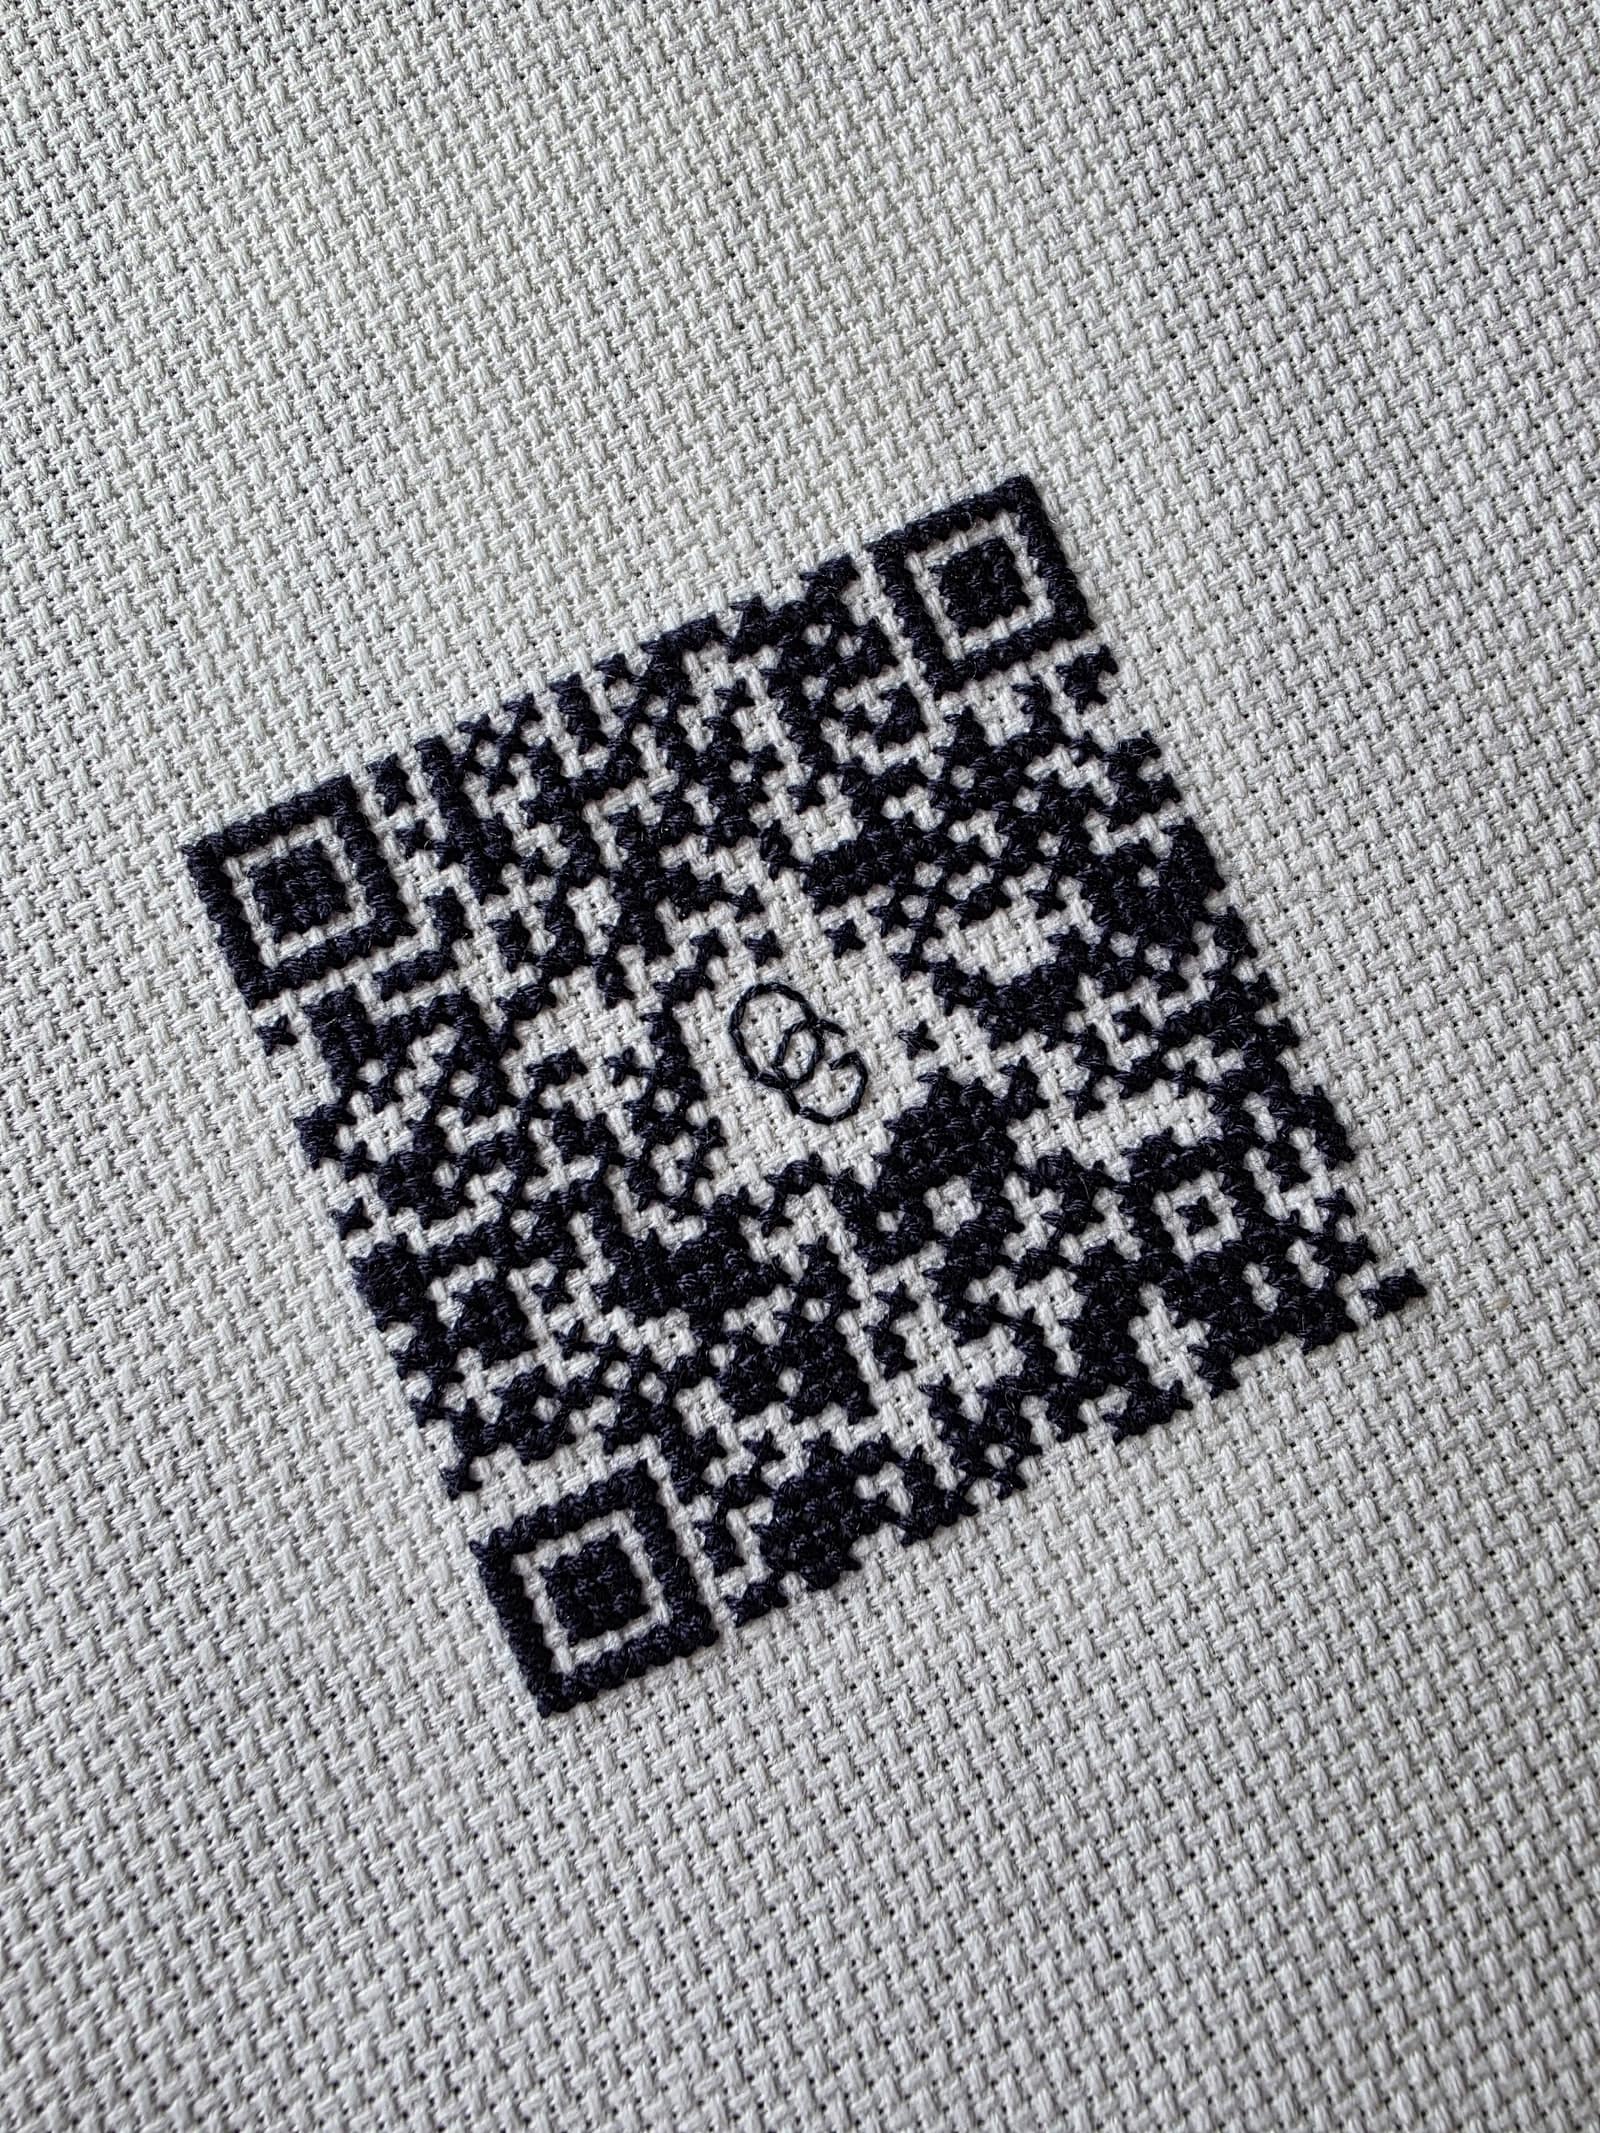
The finished stitched code ended up being only about 2.75 inches square, since I stitched one fabric square per original QR code dot.
It scans beautifully on phones, and after finishing it I also recruited both my husband and his nephew to test it successfully.
Sadly, it was not quite large enough to be scanned through my webcam during a Teams meeting.
But naturally I had to try anyway.
And honestly, that entire sentence probably explains exactly the kind of person who creates a cross stitched QR code in the first place.